Settings Overview
Last updated: September 15, 2026
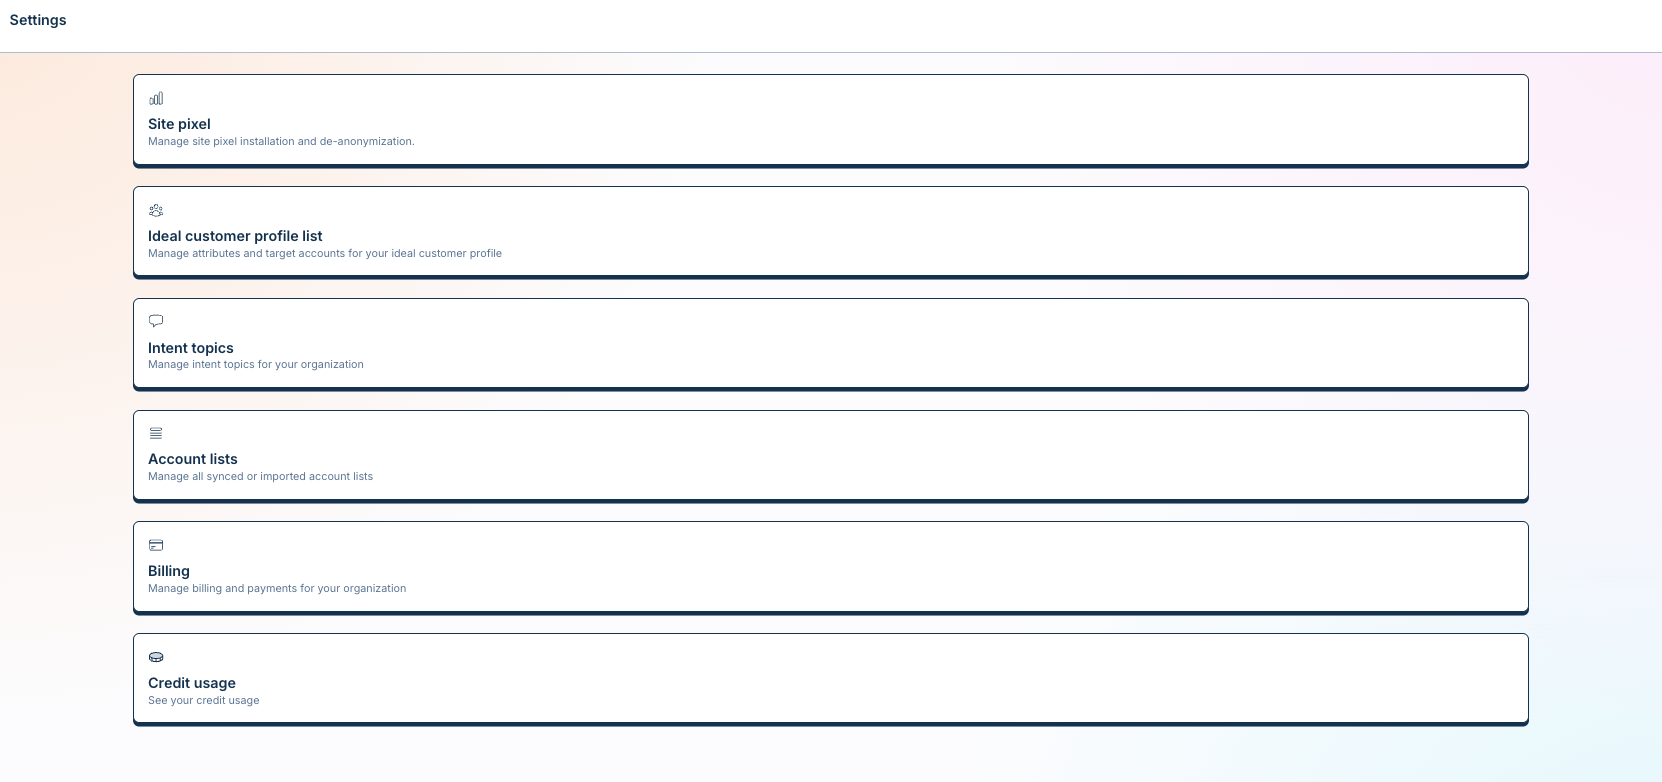
Your Settings page is Vector’s control panel for managing your organization, integrations, tracking, accounts, usage, and security.
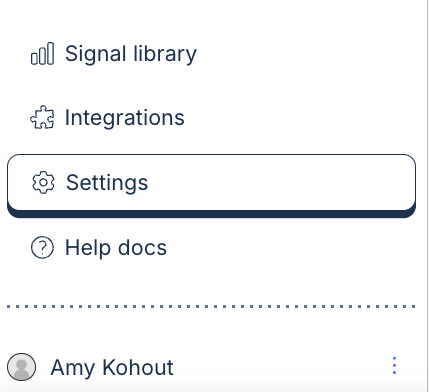
To access Settings, navigate to the bottom-left corner of Vector and open Settings.
🎯 Pixel & Privacy
Your Vector Pixel powers Website Intelligence, helping Vector identify and understand activity happening on your website.
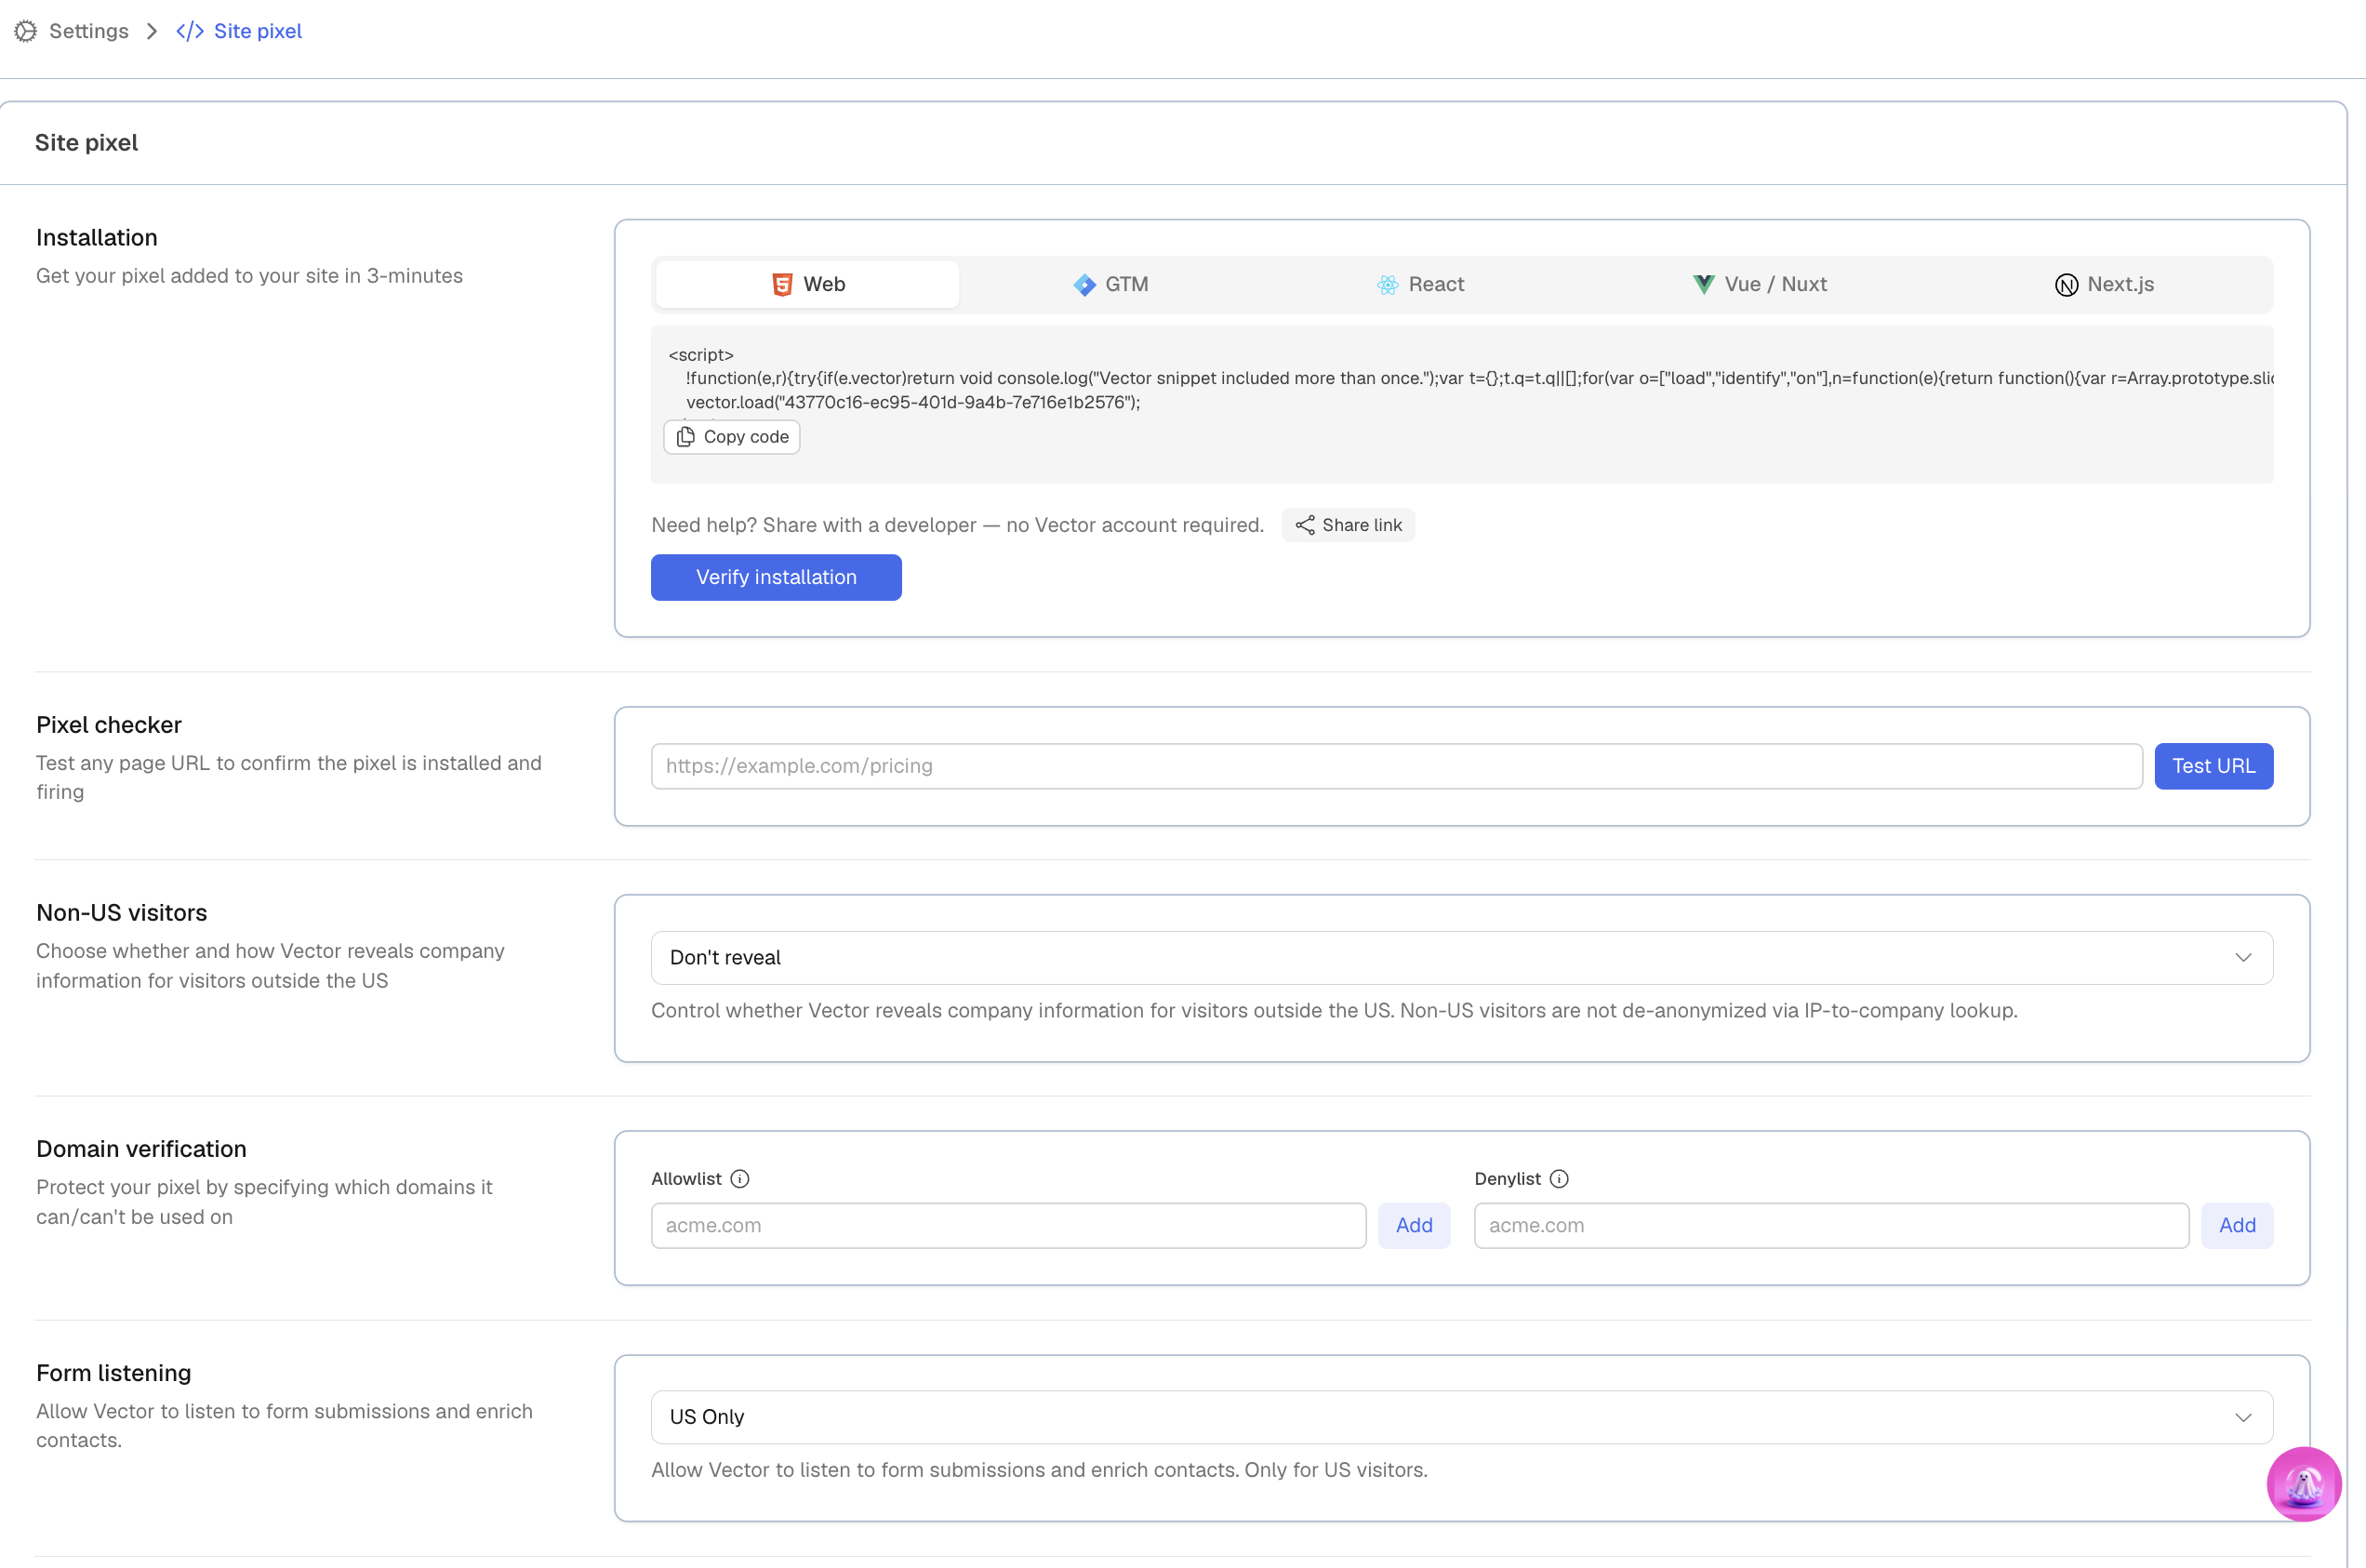
From Settings, you can:
Enable IP-to-Company Fallback
Turn on Form Listening
Set up Subdomain Tracking
Configure Opt-Out settings
Website Intelligence brings Vector’s website capabilities together, including contact-level and account-level identification and page activity analysis.
📂 Accounts & ICP
Account Sources
Choose where Vector pulls the accounts you may want to track.
Depending on your setup, account sources can include your CRM, uploaded CSVs, and other available sources. Connecting your CRM can make those accounts available for selection in Vector.
ICP (Ideal Customer Profile)
Define the titles, seniorities, roles, and other criteria that represent the contacts you care most about.
Your ICP helps Vector identify the people who are the best fit for your business.
💳 Billing
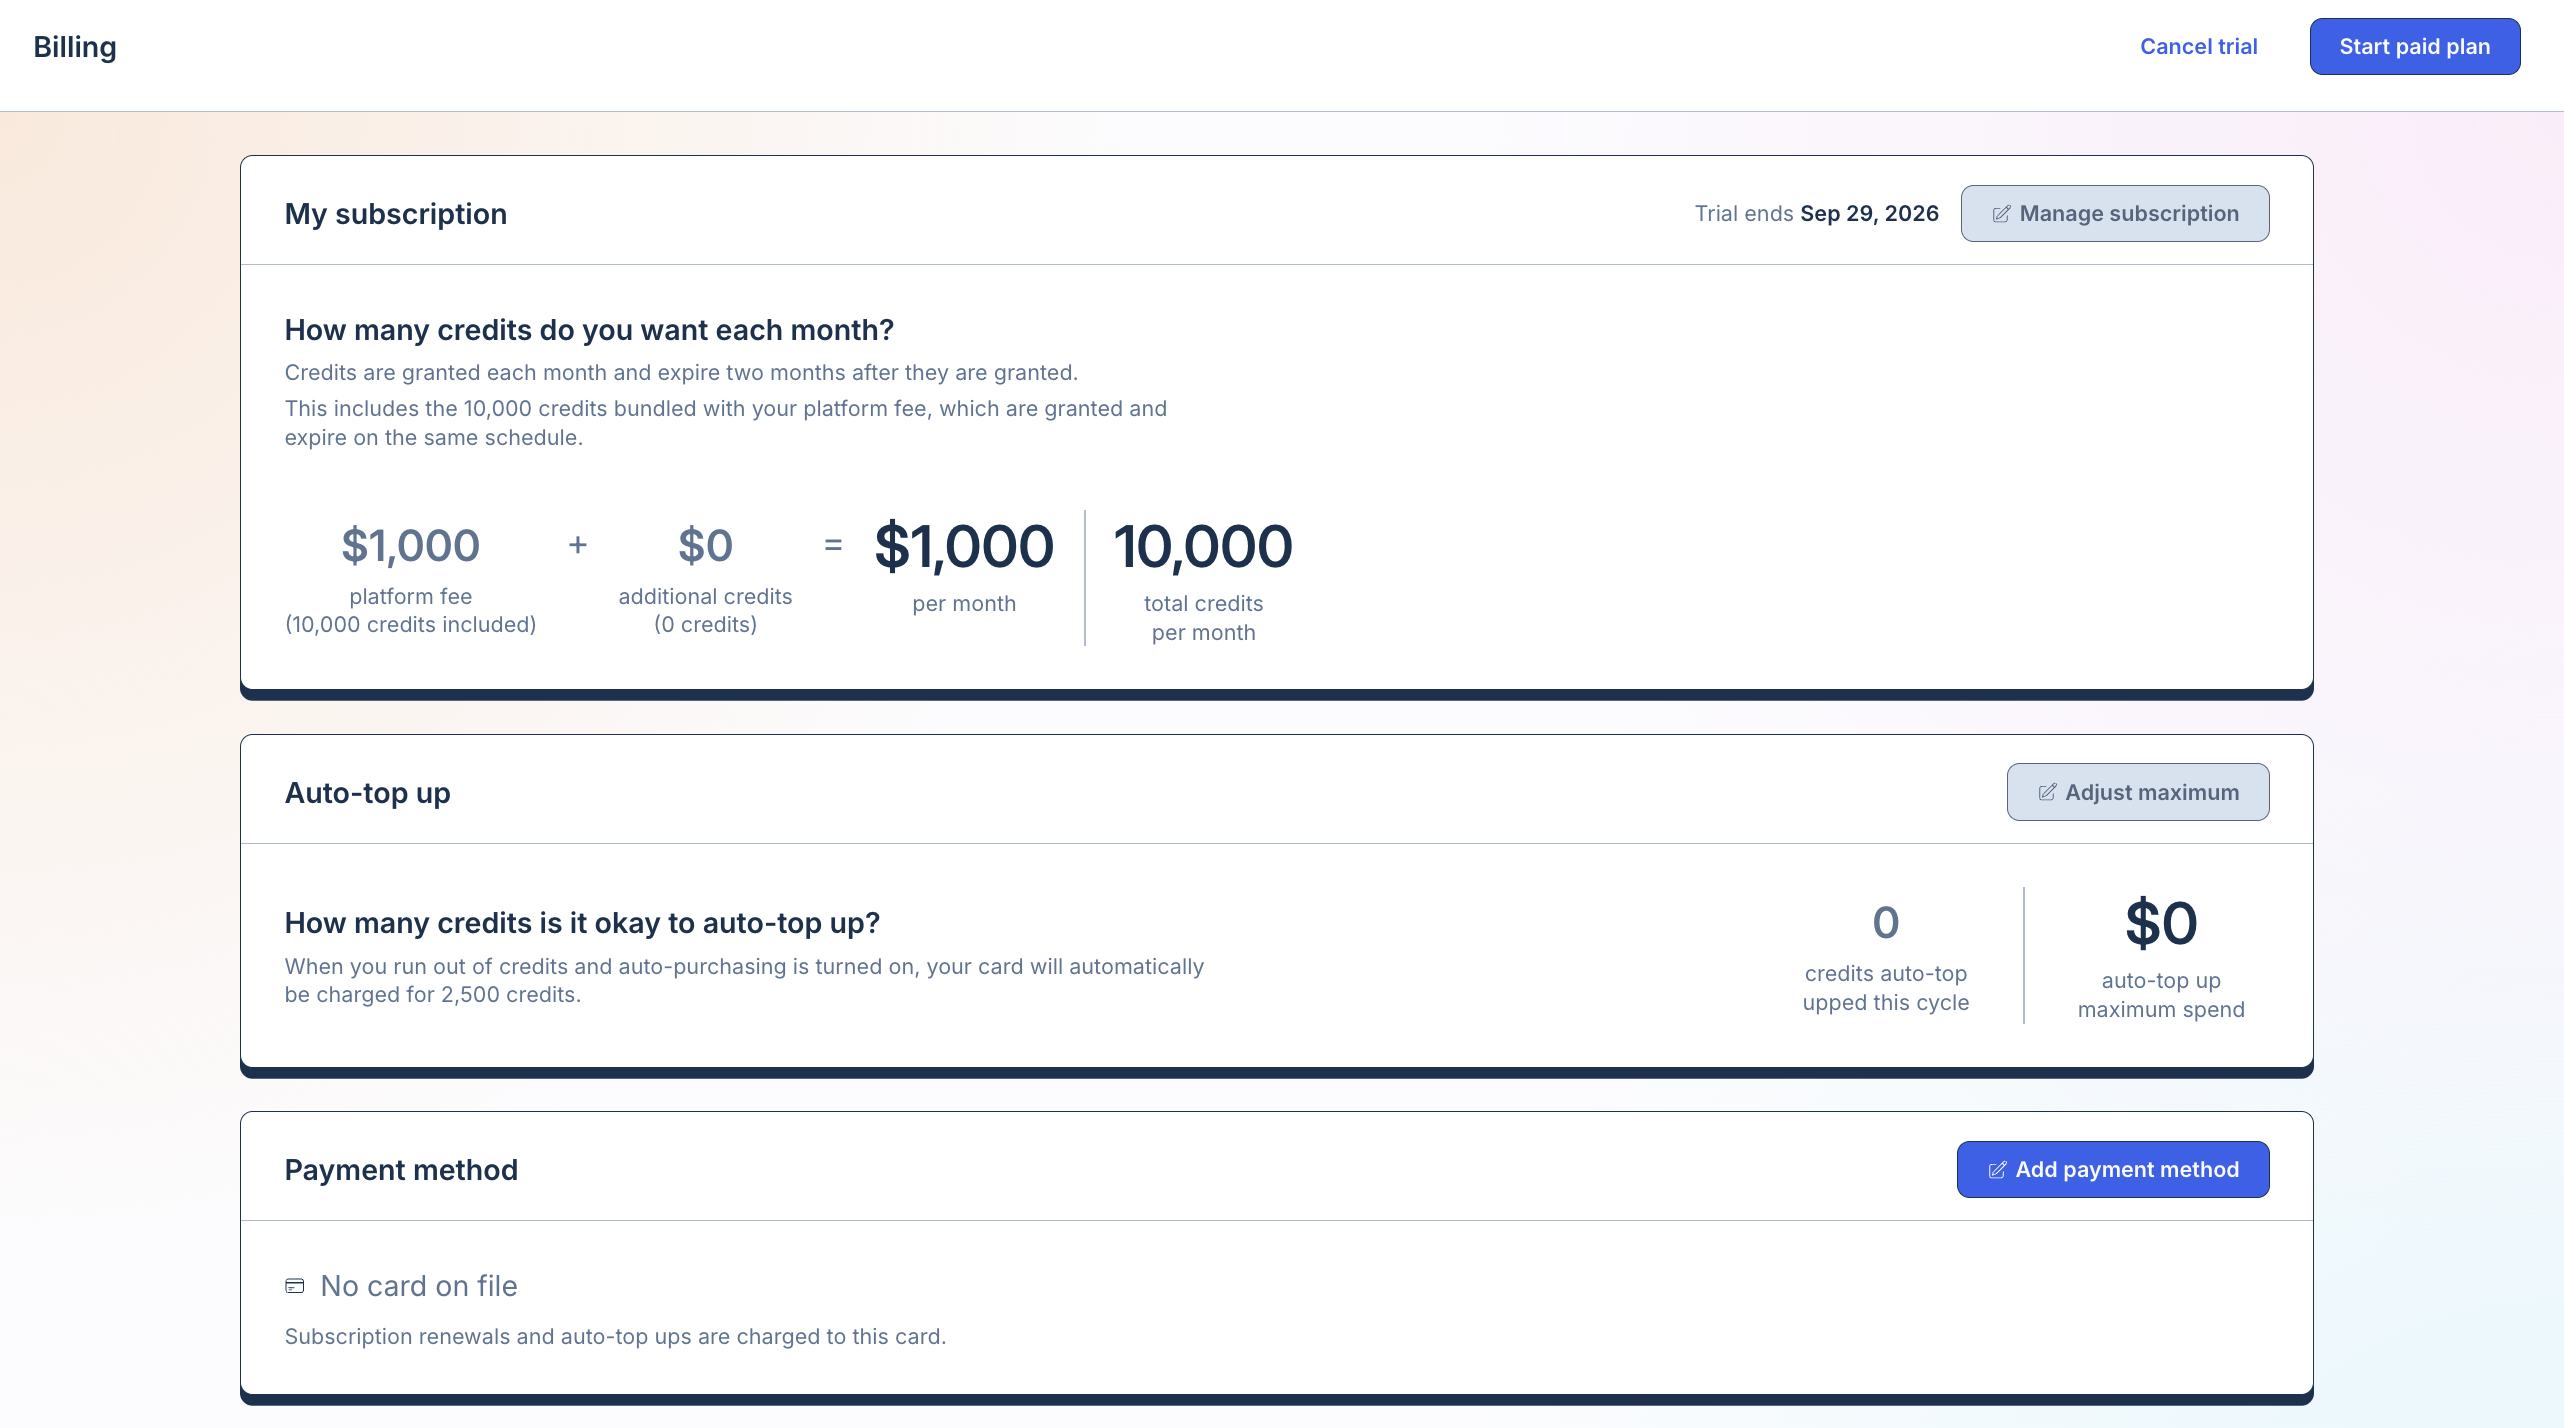
Keep track of your Vector usage and billing information from Settings.
Owners, Admins, and Members can view your organization’s billing information.
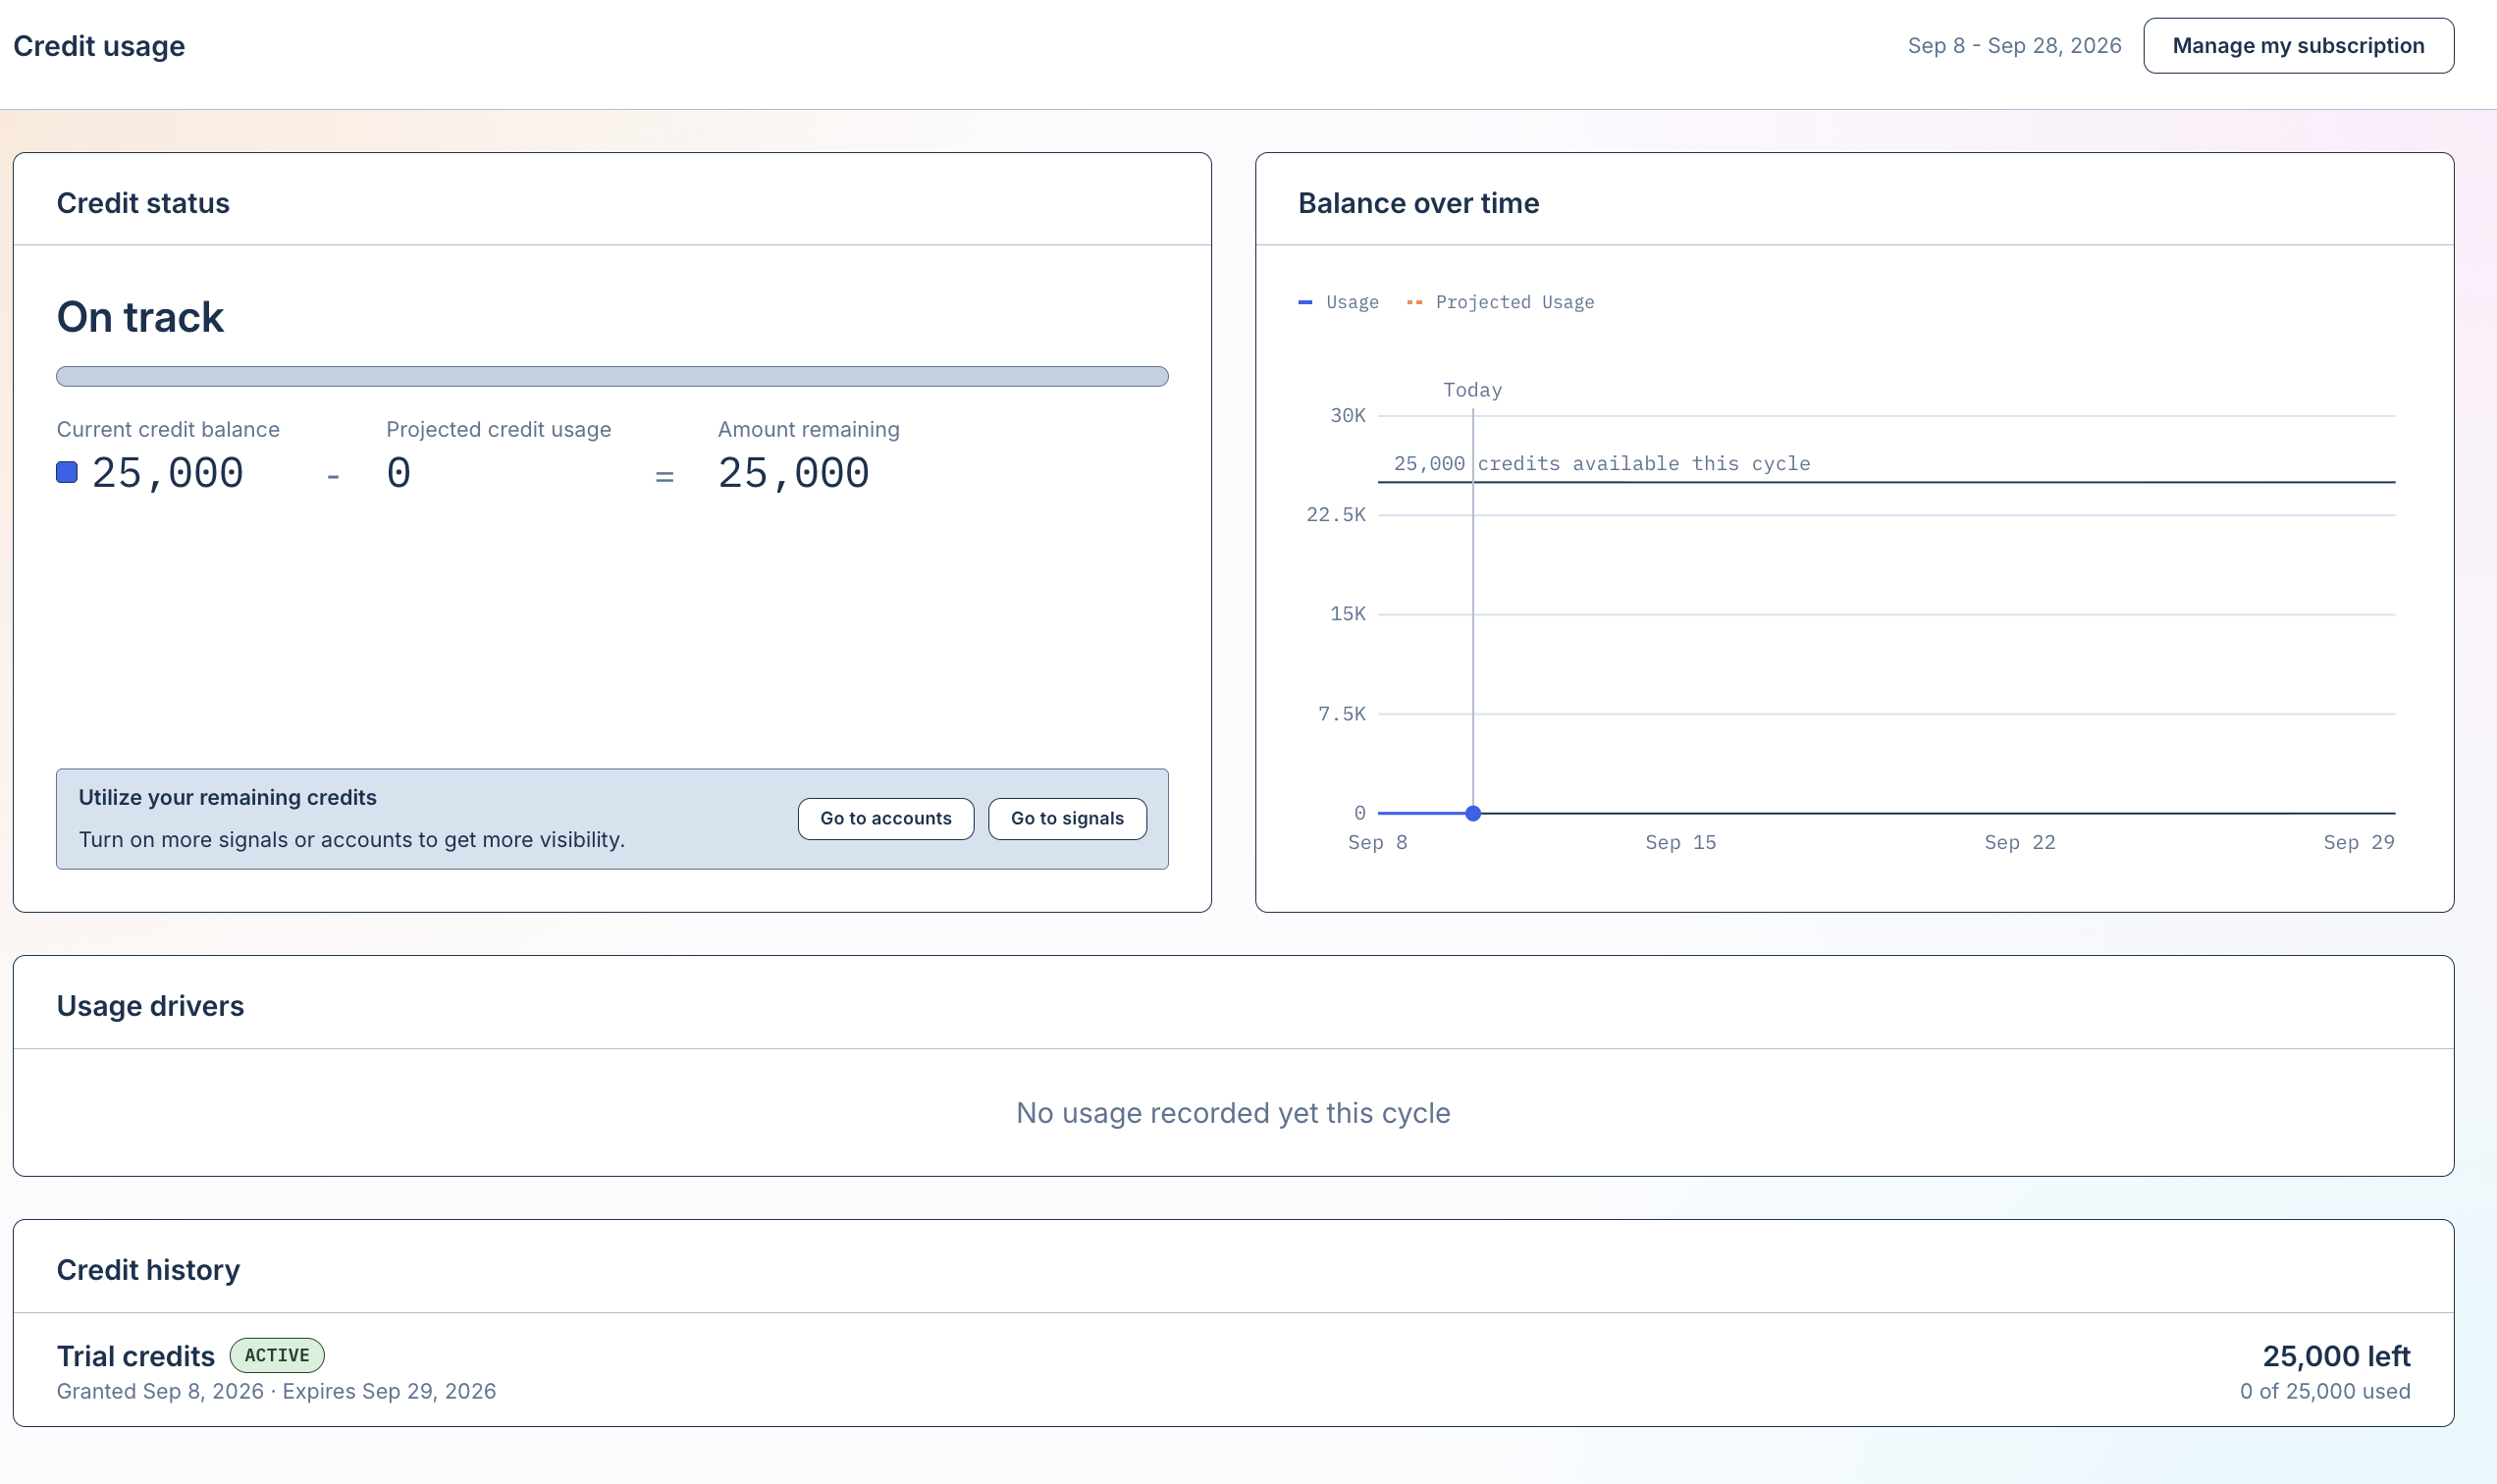
⚡ Credit Usage
The Credit Usage tab gives you visibility into how your organization is using Vector credits.
Owners, Admins, and Members can all view credit usage.
💡 Tip: You won’t need to change most Settings every day. Think of this area as your home base for managing how your organization is configured — from users and integrations to website tracking, accounts, usage, and security.