How to Create Segments
Last updated: September 15, 2026
Segments let you define which contacts you care about, narrow them using filters, and decide what Vector should do when someone qualifies.
On September 16, the core Segment workflow remains the same:
Choose a source → add filters → choose an action → activate your Segment.
You'll also have two new account-level conditions available: Tracked Account and Account Stage.
What's new on September 16?
Vector's new Signal Library introduces many additional signals that help Vector understand account activity and determine buying stage. These new signals are not available as a general library of Segment criteria at launch.
Instead, Segments can use two new account-level conditions:
Whether a contact belongs to a Tracked Account
The Account Stage of that contact's company
Step 1: Create a Segment
From your Vector dashboard, click + New Segment.
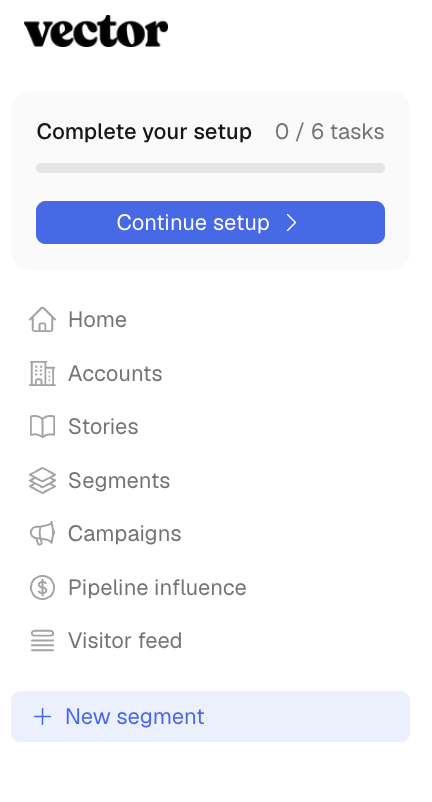
You can start from an existing playbook or choose Create from scratch to build your own.
Give your Segment a clear name that describes the audience or workflow you're creating. If using the Segment name for ad audiences, the Segment name will be the ad audience name (1:1 match).
⚠ Remember to save your changes. Segments do not automatically save while you're building.
Step 2: Choose a Data Source
Your data source determines the contacts that can enter the Segment.
Choose from the sources currently available in your Segment builder, such as website activity, offsite research, ICP contacts, or contact lists.
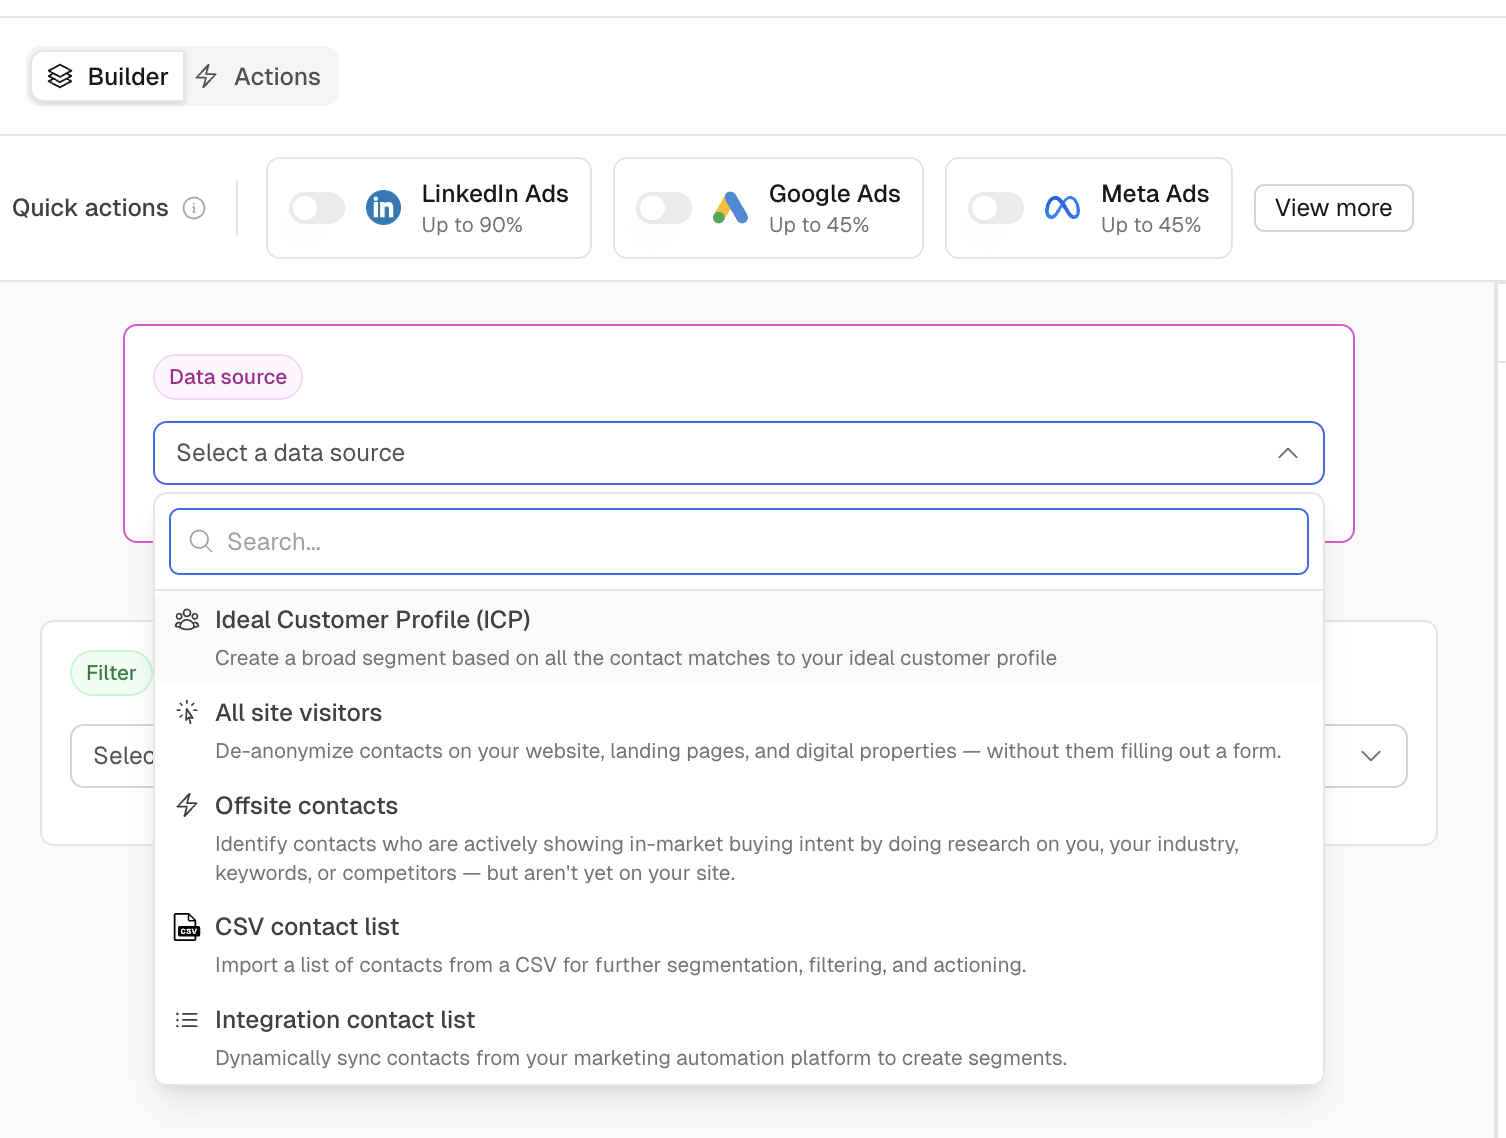
Depending on your setup, existing sources may include:
Website visitors: Known contacts identified from your website traffic
Offsite contacts: Contacts showing research activity across the web
Ideal Customer Profile (ICP): Contacts that match the fit criteria you've configured in Vector
CSV contact lists: A specific list of contacts you've uploaded
Integration contact lists: Contacts synced from a connected system such as HubSpot or Salesforce
💡 Important: The new events configured in the Signal Library are not additional Segment data sources or Signal filters on September 16.
The Signal Library collects evidence Vector can use to understand what's happening within accounts and help determine their buying stage. You'll activate that account intelligence in Segments through the filters of Tracked Account and Account Stage conditions instead.
Step 3: Add Filters
Filters help narrow your source to the contacts that should actually qualify.
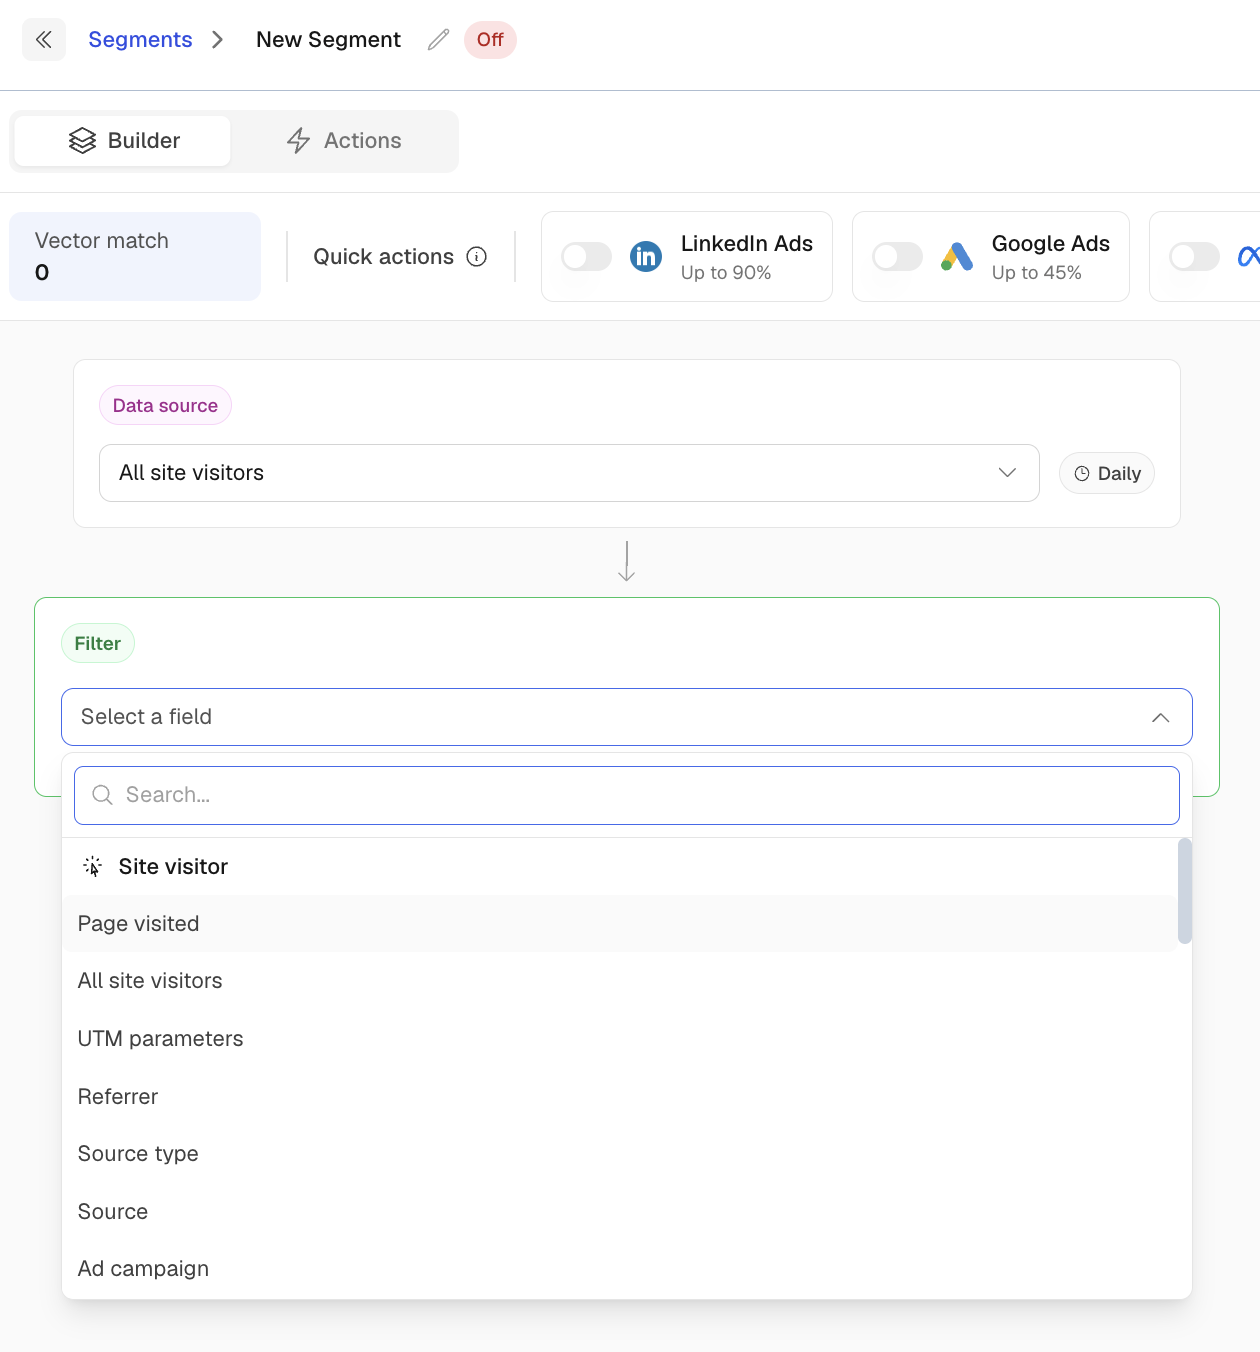
Depending on your source, you can use existing filters such as:
Ideal Customer Profile (ICP)
Account lists
Job title and seniority
Firmographics
Contact or activity attributes available for that source
New on September 16: Tracked Account and Account Stage
You'll also have two new ways to incorporate Vector's account intelligence into a Segment.
Filter by Tracked Account
Use this condition to include or exclude contacts based on whether their company is one of the accounts you're actively tracking in Vector.
For example:
Website visitors + Tracked Account = Yes
This can help you focus a website workflow specifically on contacts from accounts your team cares about most.
Account Stage
Use Account Stage to filter contacts based on the buying stage Vector has assigned to their company. To learn more about Account Stages, click here.
Vector uses the signals and account context it collects to determine where tracked accounts appear to be in their buying journey.
For example, you could narrow a Segment to:
Website visitors + Tracked Account = Yes + Account Stage = [selected stage]
This combines contact activity with account-level context so you can prioritise people from accounts that appear further along in their journey.
💡 Tracked Account and Account Stage are different from individual signals.
A specific new signal, such as a job change or LinkedIn engagement event, does not become a standalone Segment filter on September 16. Those signals contribute to Vector's broader understanding of the account.
Step 4: Add an Action
Once you've defined who belongs in your Segment, choose what should happen when a contact qualifies.
Nothing is sent anywhere by default. Your Segment only runs the actions you configure.
Depending on the integrations enabled in your workspace, available actions can include sending data to connected systems such as your CRM or triggering a webhook.
For example:
Qualified website visitor → send to your CRM
Contact from a Tracked Account → trigger a downstream workflow
Contact from an account in a selected buying stage → send to the destination your team uses for follow-up
Only use actions that are available and configured in your Vector workspace.
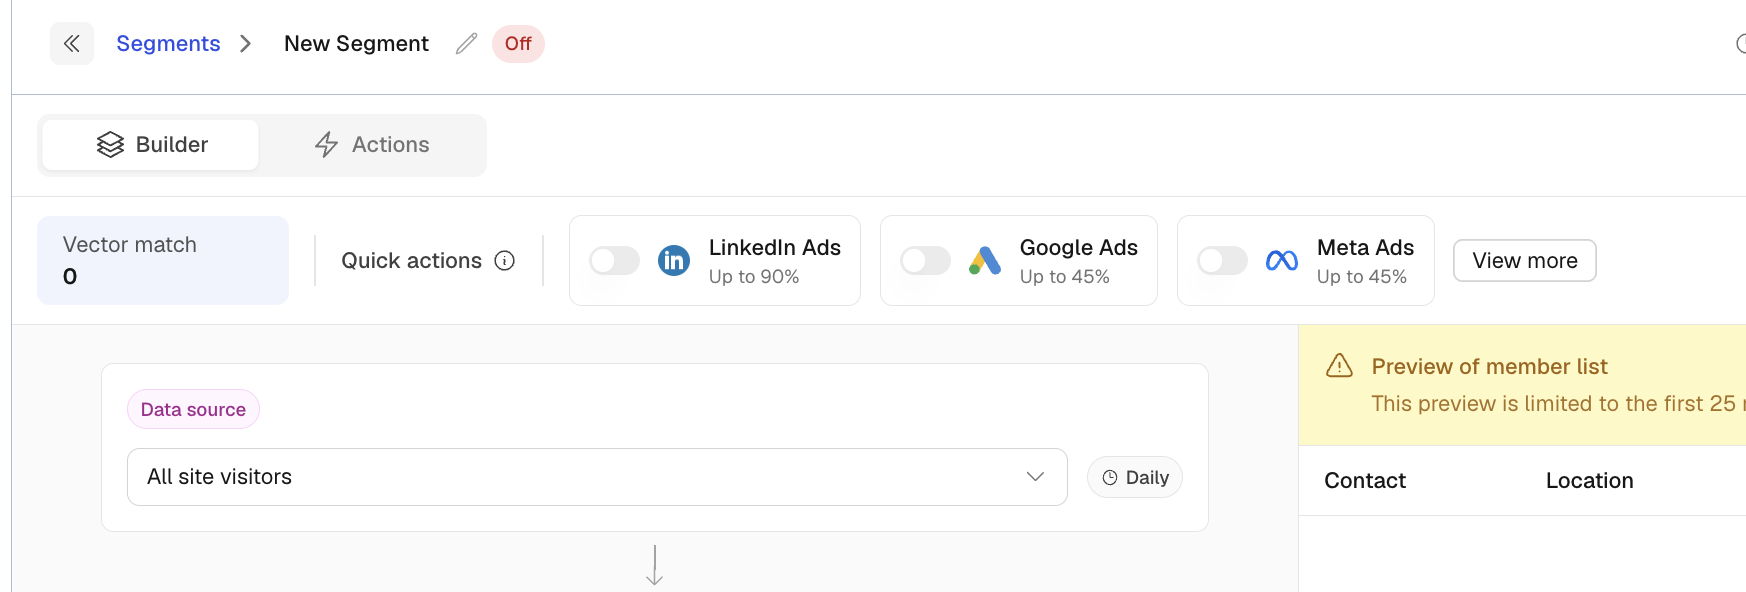
To add an action, simply select from the Quick actions toolbar. If you don't see the action you need (other ad channels, CSV, webhook, CRM, Slack) simply click on "View more" to add from there!
Step 5: Save and Activate
Once you've configured your source, filters, and actions:
Review your Segment criteria.
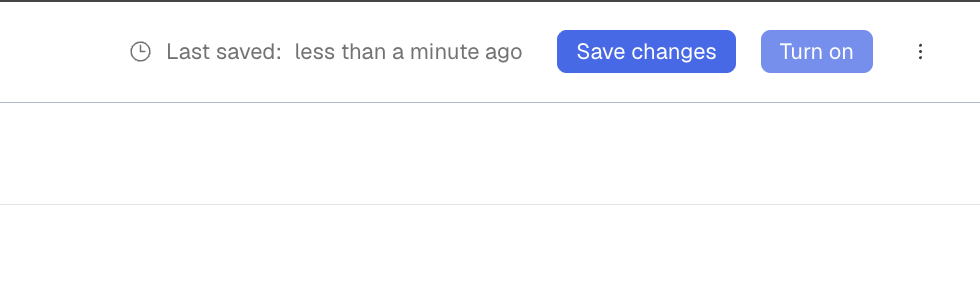
Click Save in the top right corner.
Turn the Segment on.
Vector will begin evaluating contacts against the criteria you've selected and running your configured actions when contacts qualify.
Step 6: Verify Your Sync
After activating a Segment, confirm that data is reaching the destination you selected.
Check that:
Contacts are qualifying as expected
Your filters aren't unintentionally too restrictive
Records are reaching the connected destination
Required contact fields are available for your selected action
If a Segment is active but you aren't seeing the expected contacts downstream, review the source and filters first, then confirm that the destination integration is connected correctly.
Segments vs. the Signal Library
It's helpful to think of these as two different parts of Vector.
Signal Library = account evidence (see more here).
Vector collects signals such as website, marketing, CRM, intent, and other account activity to better understand what's happening within an account.
Segments = activation
Segments define which contacts should qualify for a workflow and what should happen next.
On September 16, the bridge between those two systems is primarily Tracked Account and Account Stage.
You cannot use every new Signal Library event as an individual Segment filter at launch.
Quick Recap
Building a Segment follows the same core workflow:
Choose a source → add filters → choose an action → save and activate → verify your sync.
Starting September 16, you can also use:
Tracked Account to focus on contacts from accounts you're actively tracking
Account Stage to focus on contacts based on where Vector believes their company is in its buying journey
The broader Signal Library helps Vector build that account intelligence, but its individual signals do not become general Segment criteria at launch.